Intermediate
Building a case for OnScreen
Build a screen-based case from Lumeto's library, design it around what OnScreen does best, and test it before learners see it.
01What is an OnScreen case?
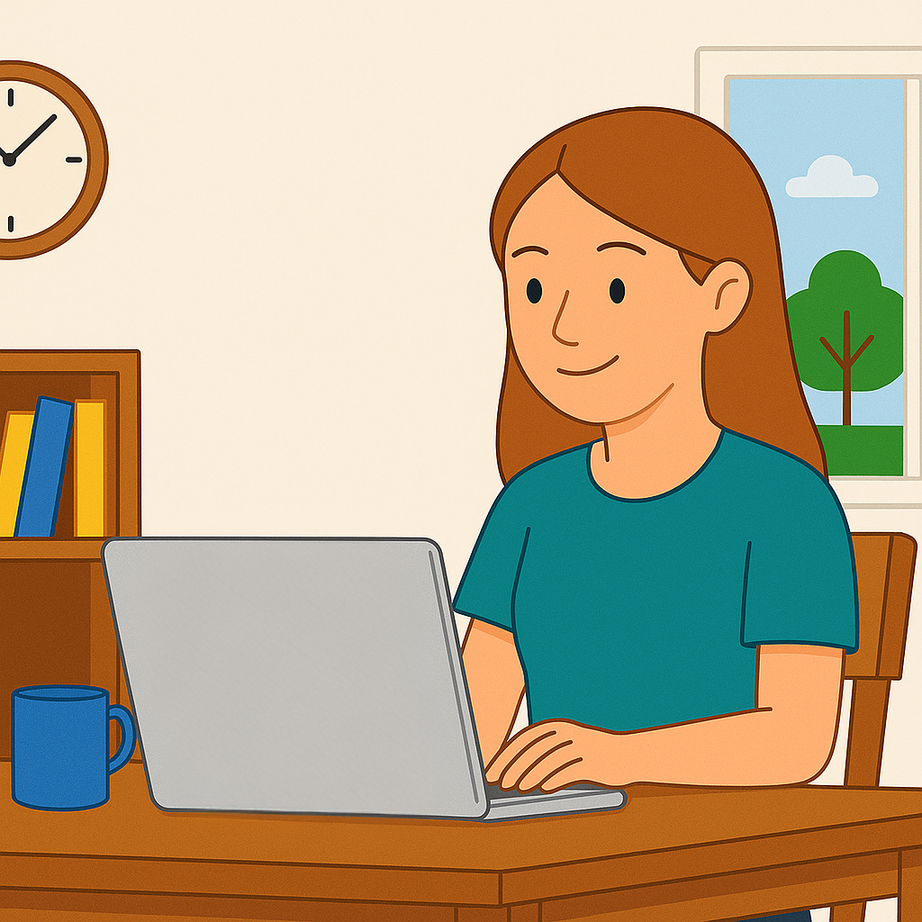
Simulation on a laptop or desktop
Screen-based cases run on a Windows computer, so they're easy to roll out to many learners.
AI-powered patients
Full conversations, no headset needed.
Learner-driven
Asynchronous, at the learner's own pace.
Scalable
Wide access to your simulation content.
Design for what OnScreen does best
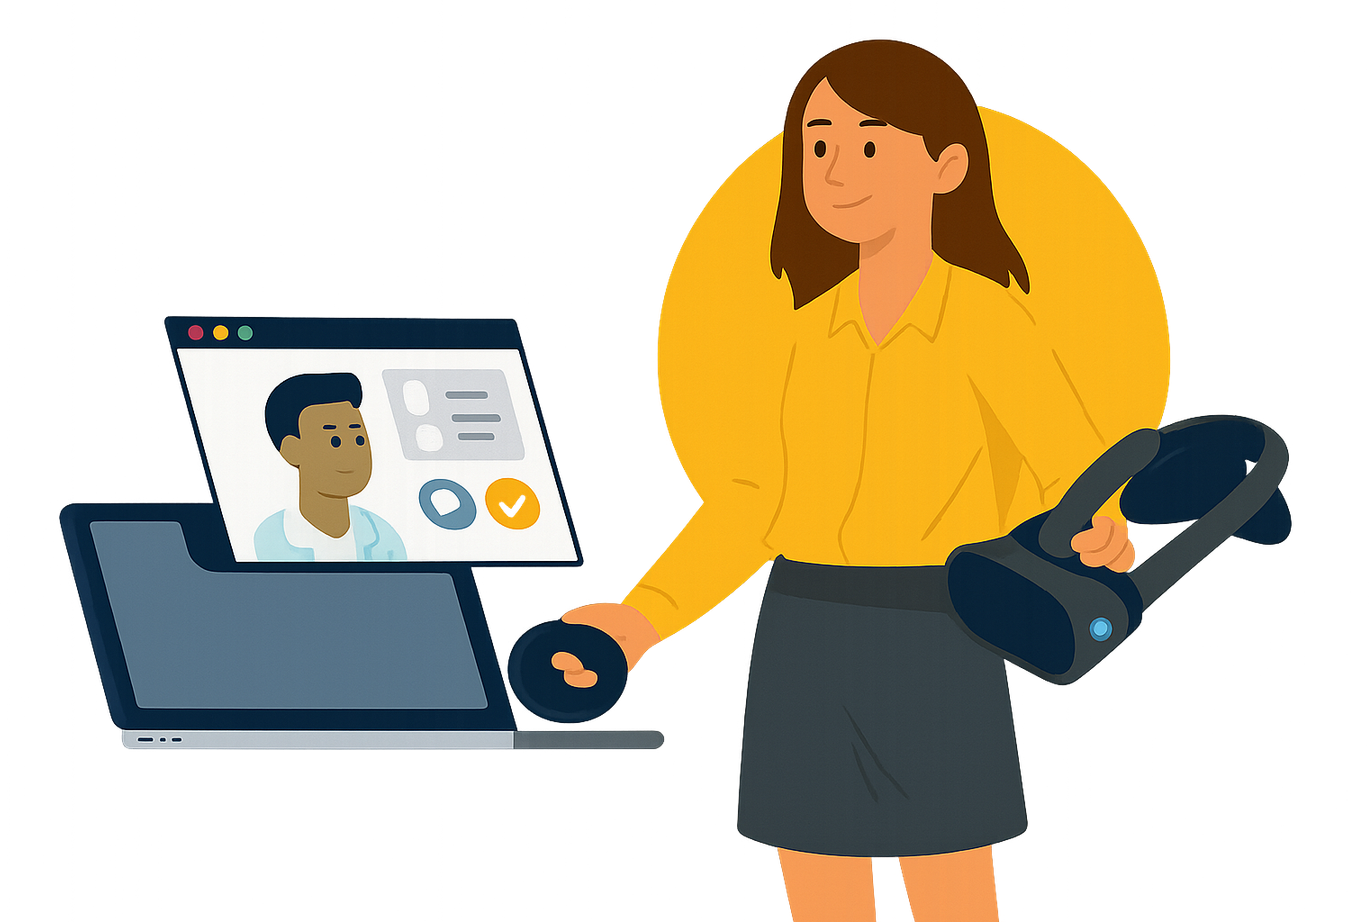
OnScreen builds foundational skills: patient communication, clinical reasoning and decisions, and confidence moving through a scenario.
It's the ideal first step before VR, for practising structured conversations and safe, independent decisions.
02Start by copying a screen-based case
⚠️
You can't convert VR cases
Screen-based cases must be copied from an existing screen-based case. Instructor-led and self-directed cases can't be converted directly.
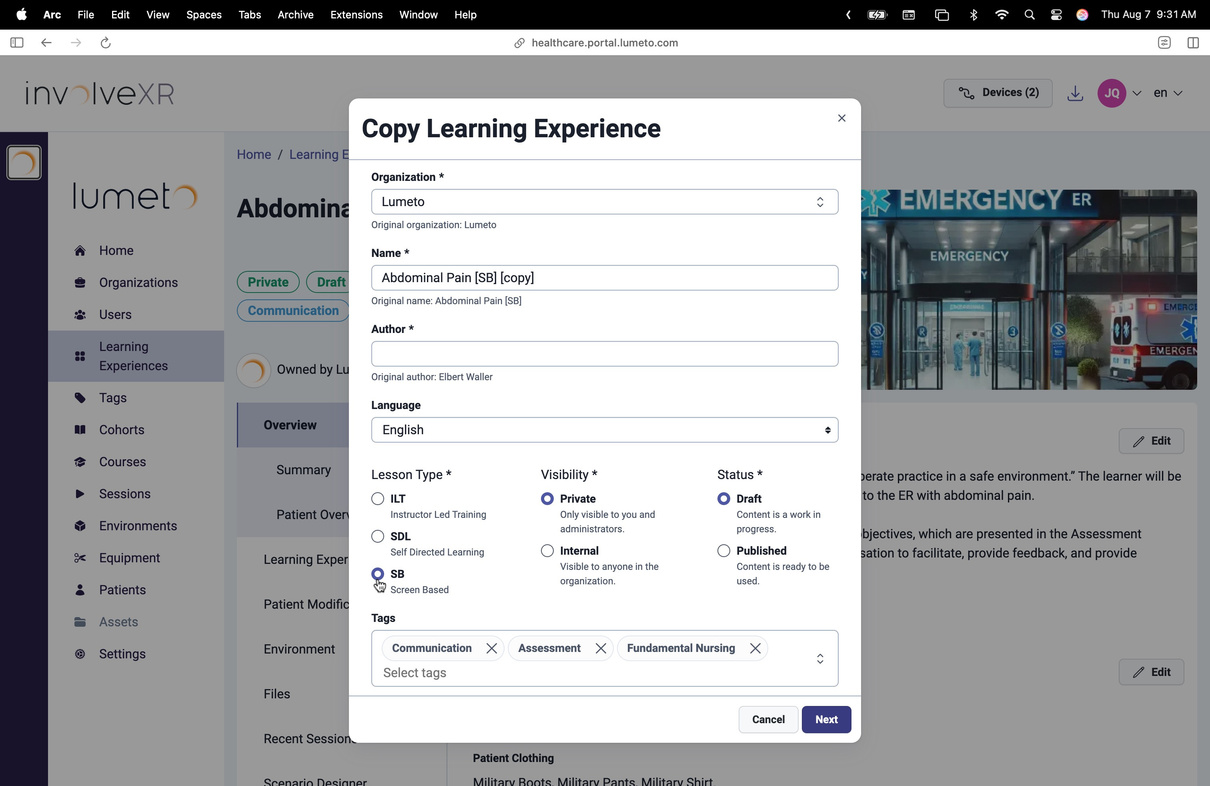
Copy a case
- In the Lumeto library, filter by Screen-Based.
- Select Copy.
- Rename the case and set the lesson type, tags, and visibility.
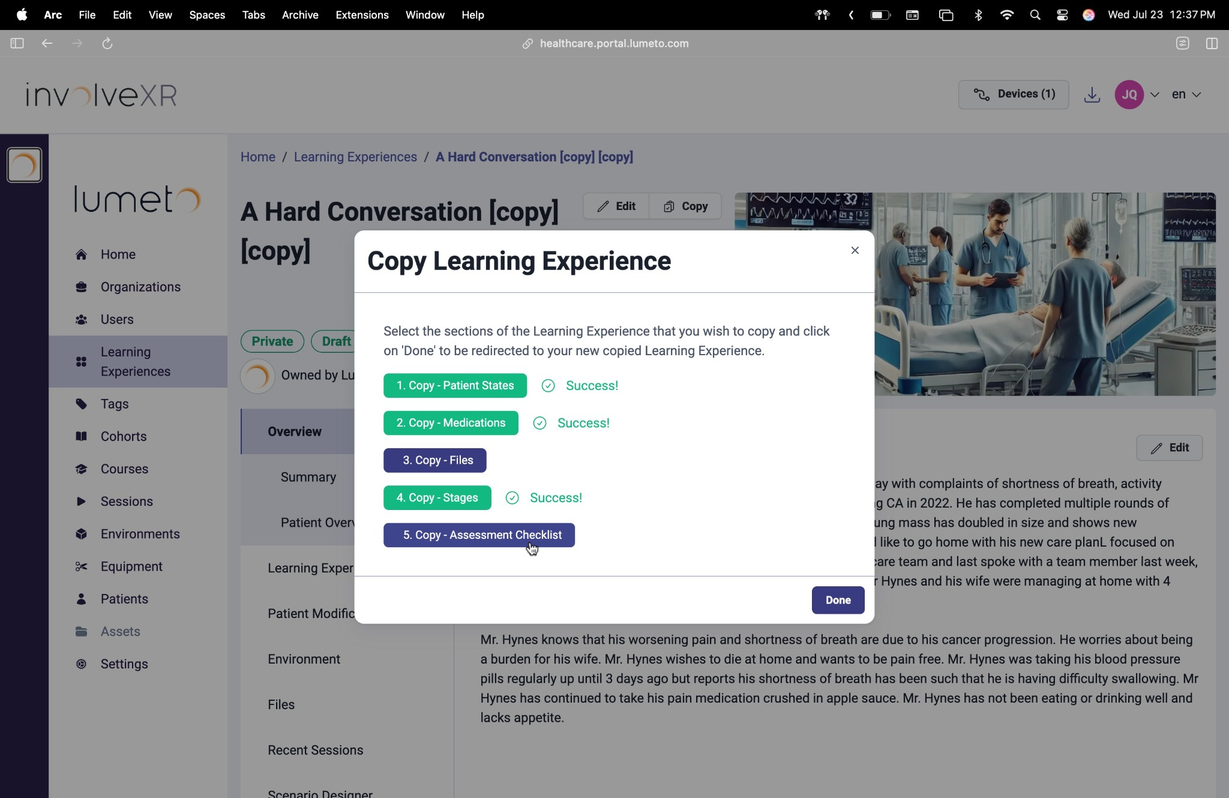
Choose what to copy
After you select Next, pick the sections to bring over. Select everything to clone the case exactly, or skip sections you want to build from scratch, like files or the checklist. Confirm each option as it loads, then select Done.
💡
Recreating a VR case?
Copy a screen-based case as your base, then move over your dialogue, checklist, and other content from the VR version by hand.
⚠️
Pick the right room first
The environment can't be changed after copying. Check Rooms, patients and modalities.
03Adjust for screen-based limits
Some VR-only features aren't available on screen yet.
Medication administration
VR onlyNot available in OnScreen yet.
Oxygen delivery
VR onlyNot available in OnScreen yet.
CPR and intubation
VR onlyNot available in OnScreen yet.
When adapting a VR case
- Remove or replace unsupported actions
- Refocus on dialogue, clinical reasoning, and communication
- Keep the scope tight, around what screen delivery does well
04Set up your patient
Patient Modifications tab
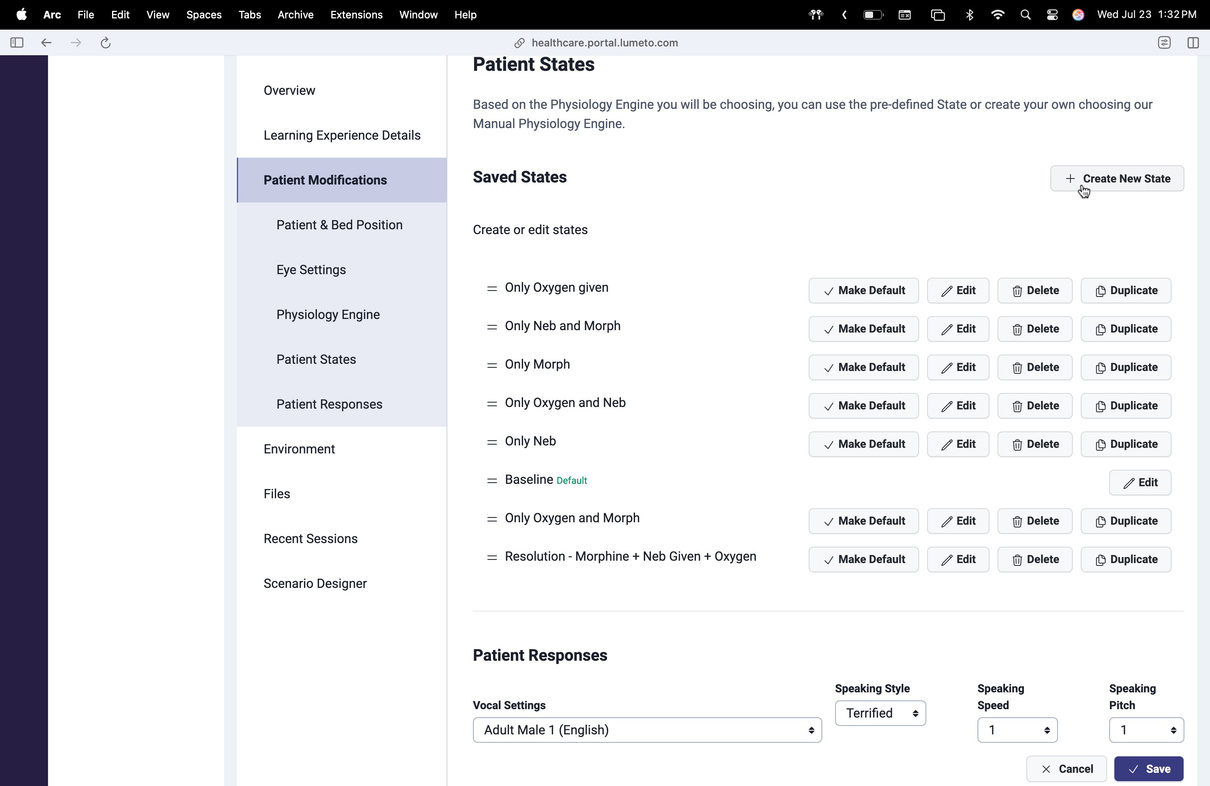
Patient states
The clinical or behavioural conditions the patient moves between.
Voice
A voice style and tone that fits the patient.
AI behaviour
How the AI speaks, responds, and reacts emotionally.
ℹ️
Write the patient prompt
Background, tone, behaviour rules, and triggers work the same as in VR. See Writing an AI patient prompt.
05Checklist and tokens
Design the checklist
In Learning Experience Details, use the Assessment Checklist to define what learners should do. Each item is a learning objective, such as "Confirm patient identity". Items can be grouped into simulation stages.
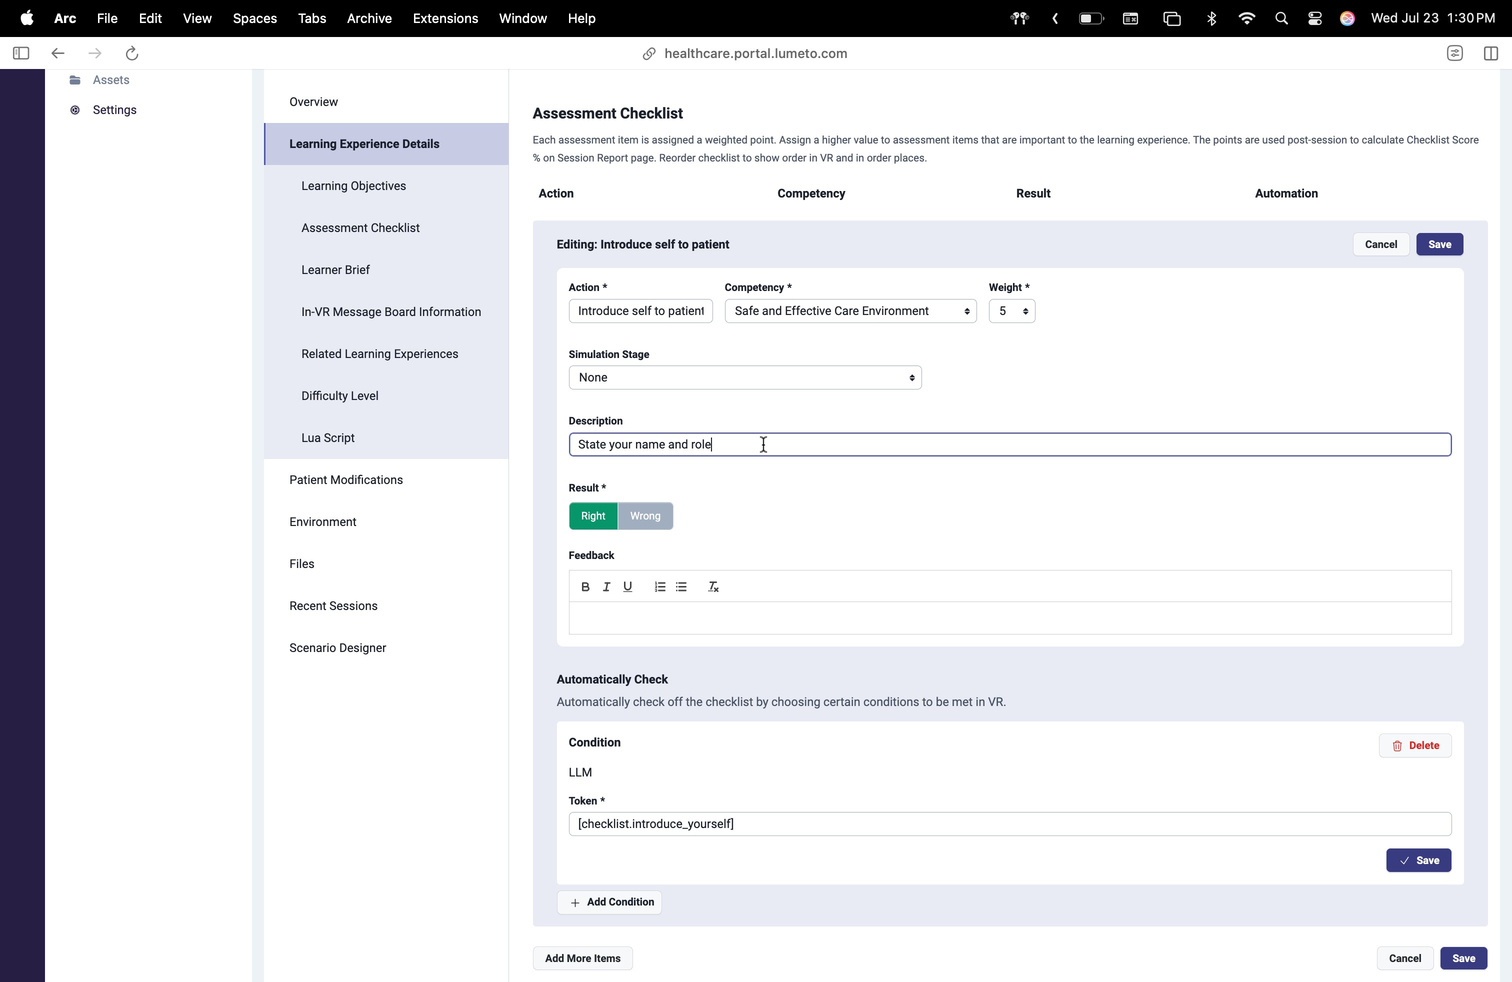
Track behaviour with tokens
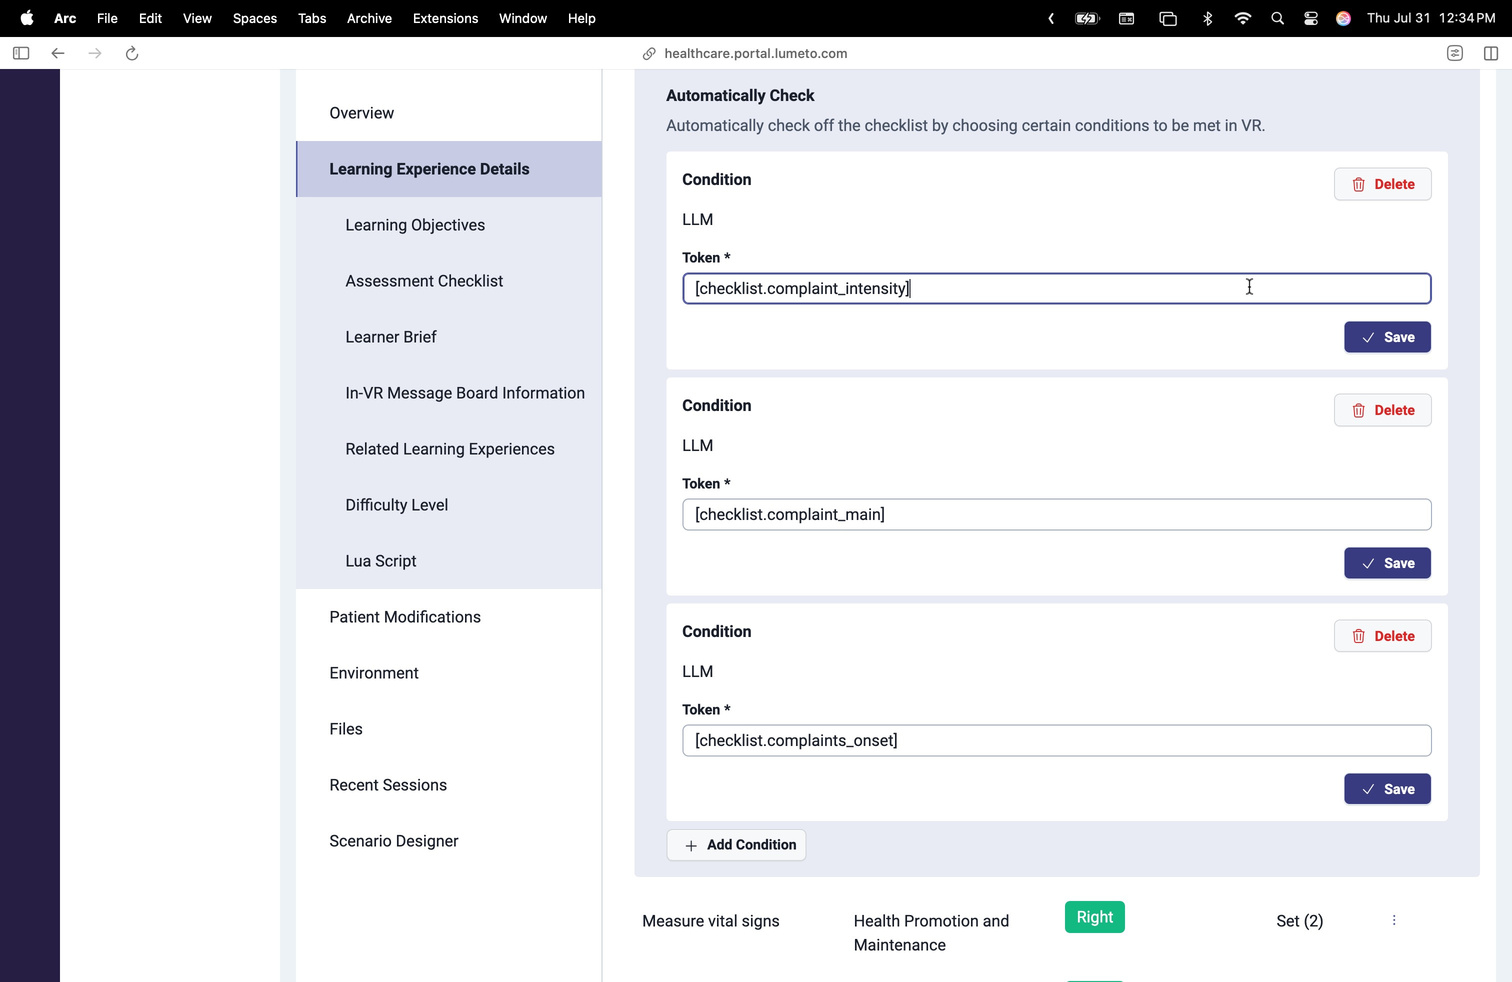
Tokens are invisible markers that tick off checklist items from what the learner says, so OnScreen cases can be scored with no instructor present.
Checklist item: "Validate emotions"

Learner says: "How are you feeling today?" or "I understand that must be difficult."
  → [checklist.emotions]
  → [checklist.process_information]
What was done
Which clinical reasoning steps the learner completed.
What needs work
Missed red flags or communication gaps.
Learners never see tokens
You get automatic tracking and richer debriefs without pressing a button.
ℹ️
Step-by-step setup
06Set up patient states
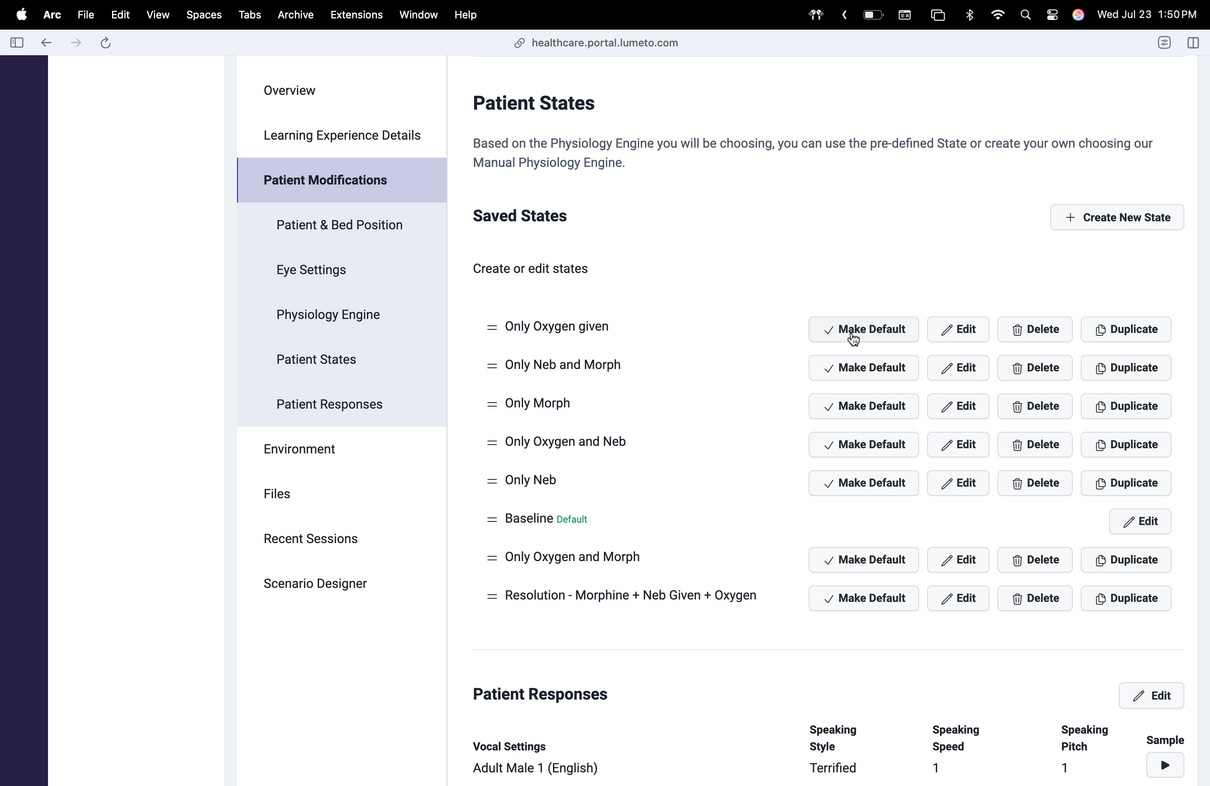
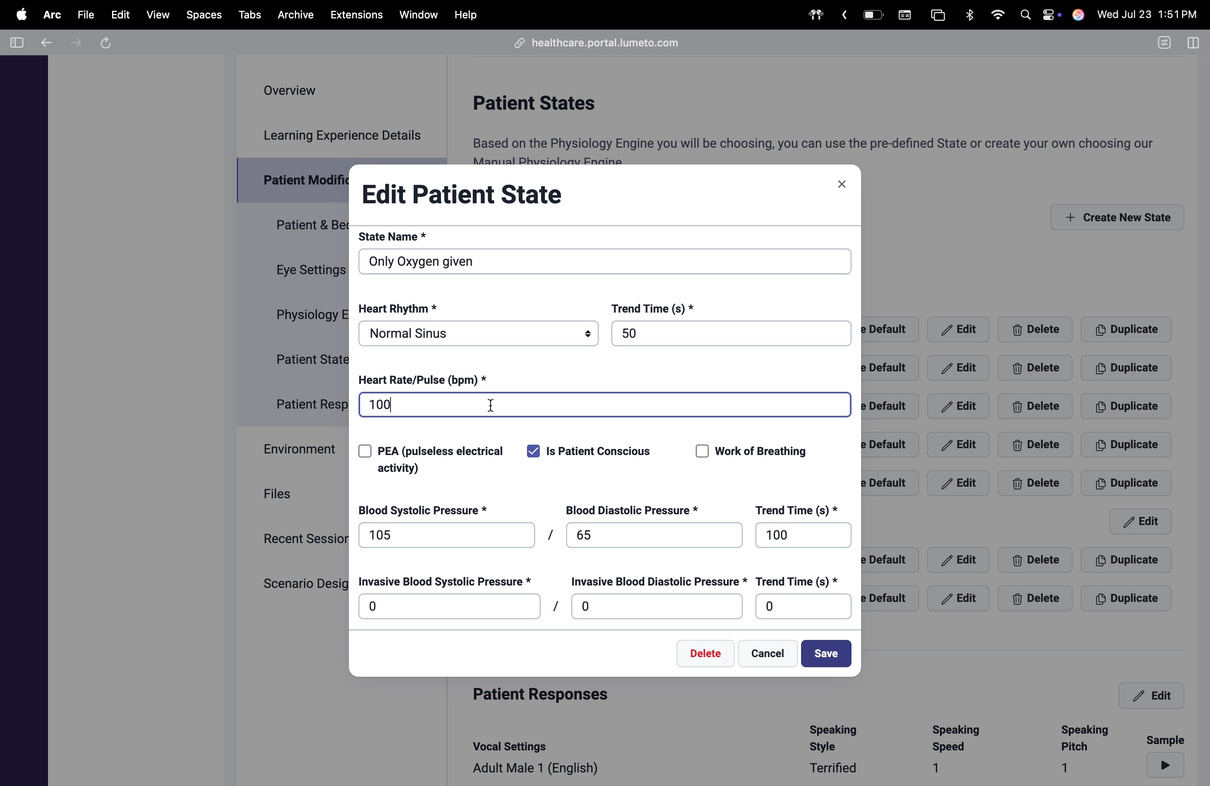
States like stable, worsening, or recovering can change the patient's facial expression, vitals and clinical responses, and dialogue and behaviour.
ℹ️
Automatic in OnScreen
You can't switch states live in an OnScreen scenario. ACE moves the patient between states automatically, based on the triggers you set.
07Test and improve
Before you publish
- Preview the case in the OnScreen or Instructor app.
- Check that every checklist item triggers.
- Check patient states, files, and flow.
- Adjust tone, pacing, or dialogue.
Quick recap
- Always start from a screen-based case
- Let ACE track and assess progress
- Pair checklist tokens with conditional prompts
- Test thoroughly before publishing
🛠️
Your OnScreen case is ready.
Assign it to learners.
-1.png?width=150&height=66&name=Lumeto%20Logo%20Reverse%20Transparent%20(1)-1.png)