Intermediate
Building a case
Create a self-directed or instructor-led case by copying one from Lumeto's library, then make it your own.
Release 18What's changed on this pageEverything new →
01Self-directed or instructor-led?
Both case types use the same builder. The difference is who is in the room while it runs.
Self-directed (SDL)
Learners work through the case on their own time. The AI adapts to what they say, and the Artificial Clinical Evaluator (ACE) tracks their actions and scores them automatically.
No instructor needed
Instructor-led (ILT)
Learners take part in a live session while you guide it. You control the case in real time, and every session is recorded for the debrief.
You run it live💡
Which should I pick?
Use self-directed cases to scale practice of clinical reasoning and communication. Use instructor-led cases when you want to steer the scenario and debrief together.
02Start by copying a case
Updated
Copying a case from Lumeto's library gives you a fully working scenario to adjust, instead of starting from a blank page.
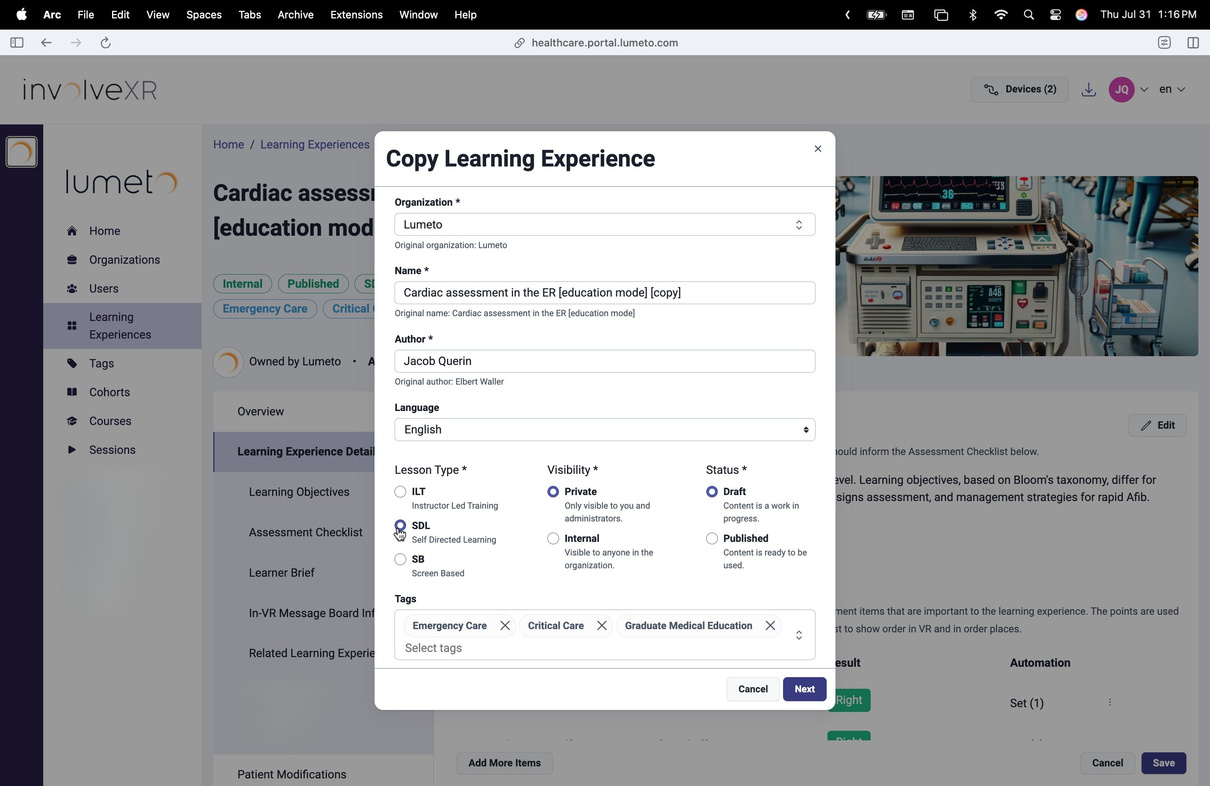
Copy and set it up
- Select Copy on any learning experience.
- Name your new version.
- Choose the lesson type: Instructor-Led, Self-Directed, or Screen-Based.
- Choose the visibility: Private, Internal, or Published.
- Add tags so you can find and filter it later.
⚠️
Pick the right room first
You can't change the environment after copying, so copy a case that already uses the room you need. Check Rooms, patients and modalities.
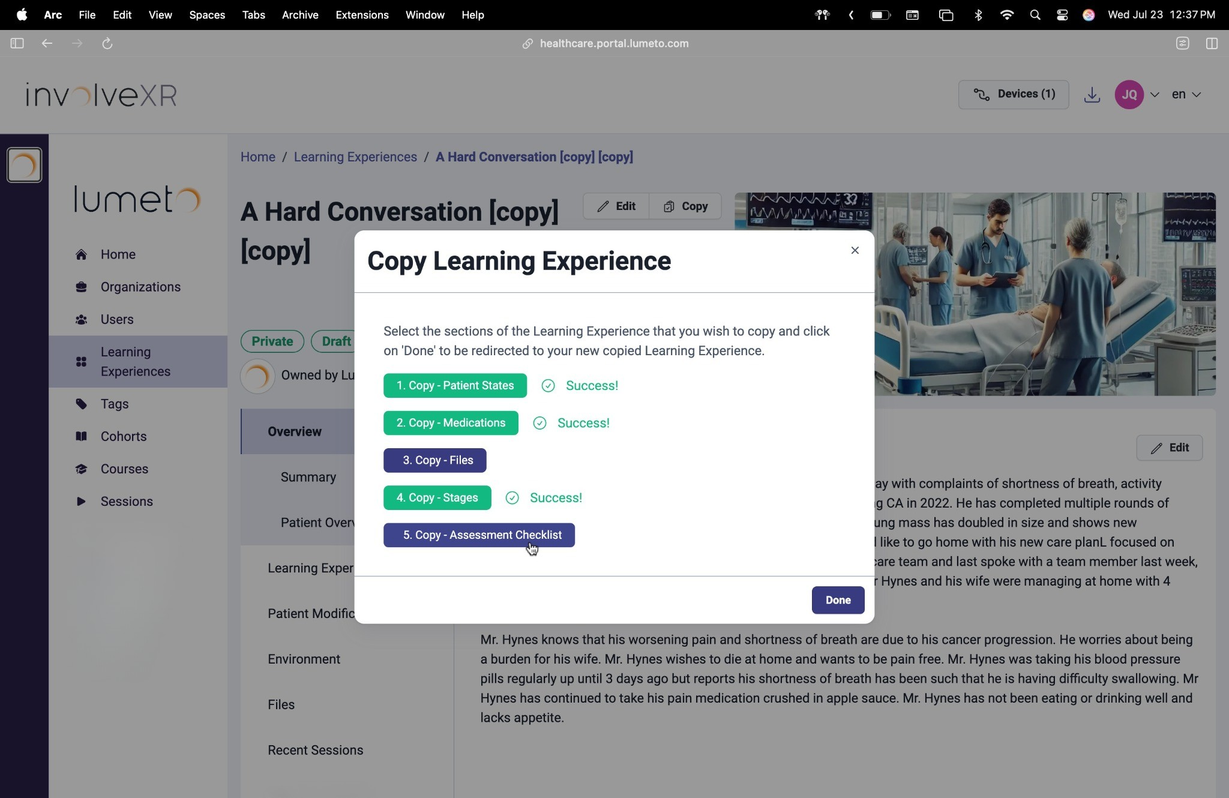
Choose what to copy
After you select Next, choose which sections to bring over. We recommend selecting everything, so you start with a case that works. Each option becomes clickable as it loads. Confirm them, then select Done.
You can remove anything you don't need once the copy is created.
💡
Want a phone call in your case?
Search the Lumeto Library for templates with "Phone" in the title. They come with the phone already set up, or your CS team can build a caller for you. See Adding a phone call to a case.
03Customize your patient
Updated
Patient Modifications tab
Tailor your virtual patient to the scenario:
Starting position
Where and how the patient appears when the session starts, such as lying down, seated, or standing.
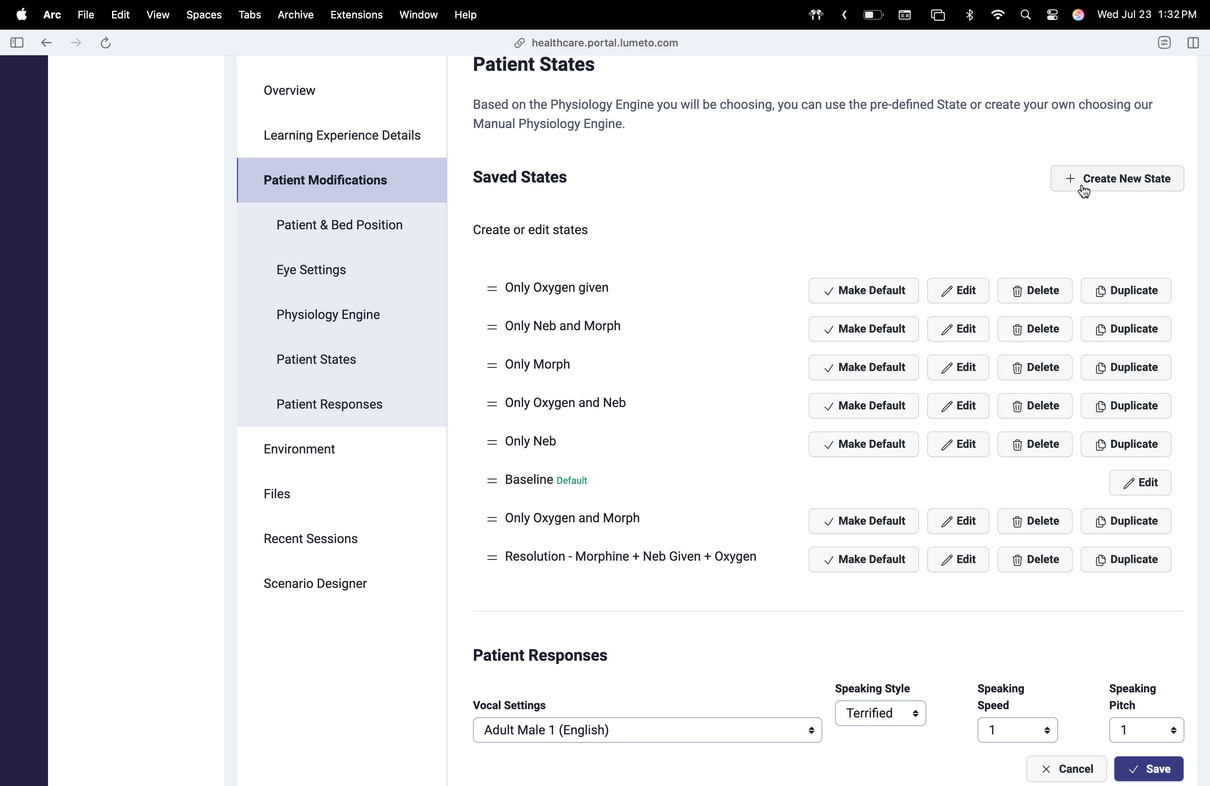
Patient states
The clinical conditions and vitals the patient can move between. They can now include ventilator settings, capillary refill, and erythema.
Date of birth
Set the patient's date of birth. Their age is calculated automatically.
Voice
A voice style and tone that fits your patient.
AI behaviour
How the AI speaks, responds, and reacts emotionally.
ℹ️
The patient prompt does the heavy lifting
How the patient talks and reacts comes from the prompt you write. See Writing an AI patient prompt.
04Decide what success looks like
In the Learning Experience Details tab, use the assessment checklist to define how a learner completes the case. For example: a key question asked, a set of items covered, or a specific action taken.
💡
Let the checklist track itself
Checklist items can tick off automatically from what learners do or say. See Customizing the assessment checklist.
05Add files
Files tab
Upload lab reports, X-rays, EMR documents, and cognitive aids under the Files tab. Learners can open them in the EMR tablet and on the Message Board in VR.
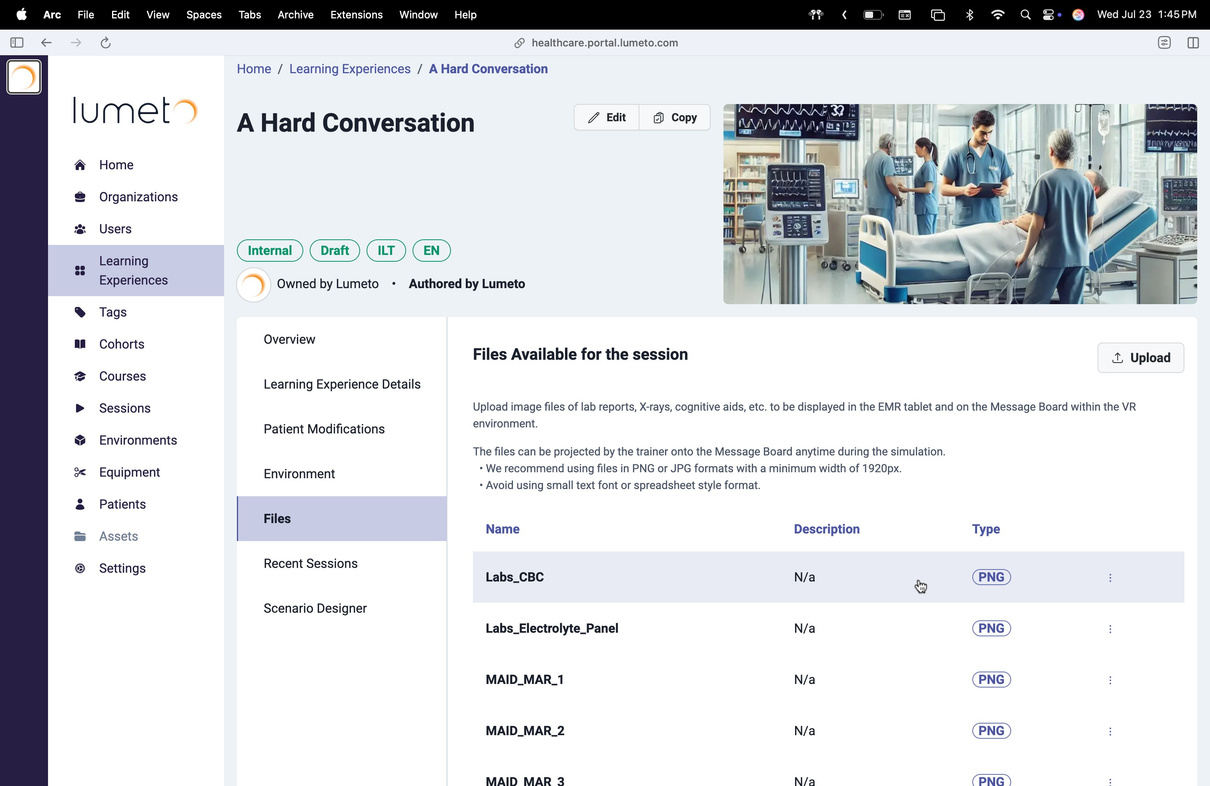
Self-directed
Before the sessionFiles must be added before the session. They are available to the learner from the start and can't be shared mid-session.
Instructor-led
Any timeYou can project files onto the Message Board at any point during the session.
⭐
Use clear images
Upload PNG or JPG files at least 1920px wide. Avoid small text and spreadsheet-style layouts.
06Set up patient states
Updated
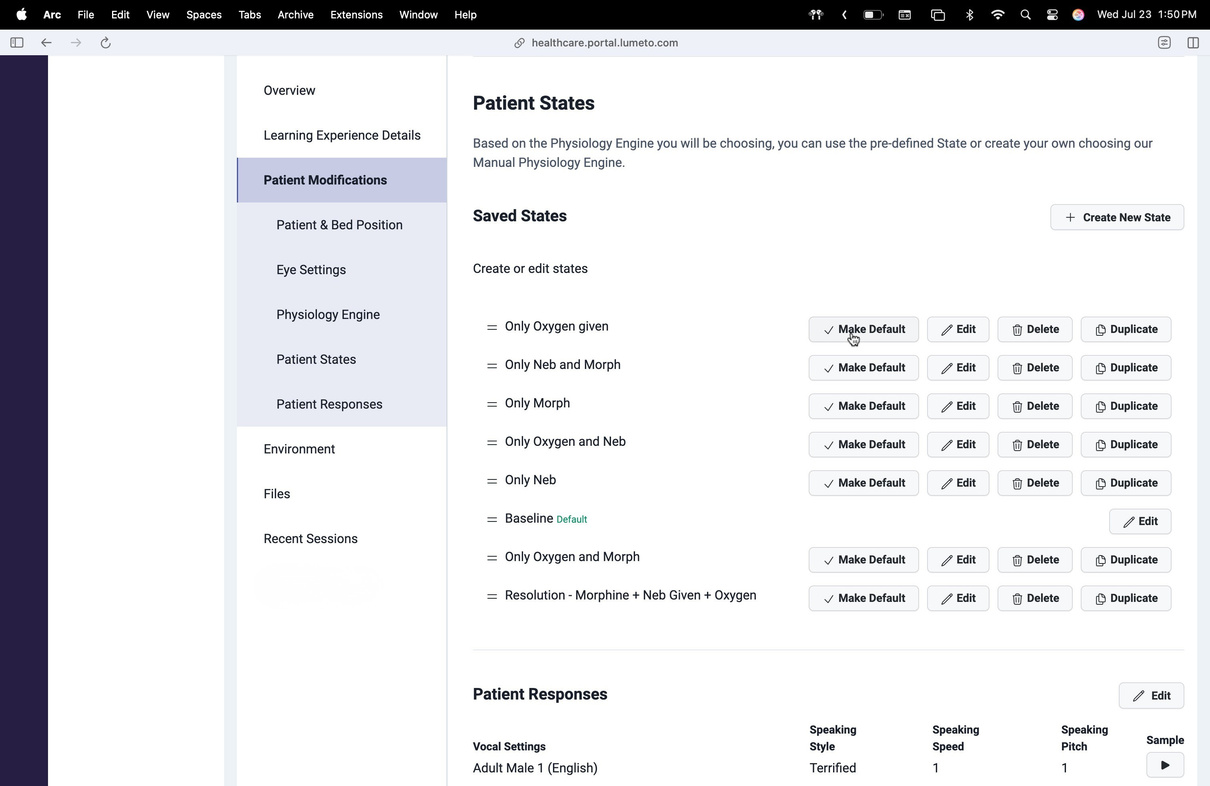
Patient states simulate changes in condition, such as stable, worsening, or recovering. Each state can change the patient's vitals, clinical responses, facial expression, dialogue, and behaviour.
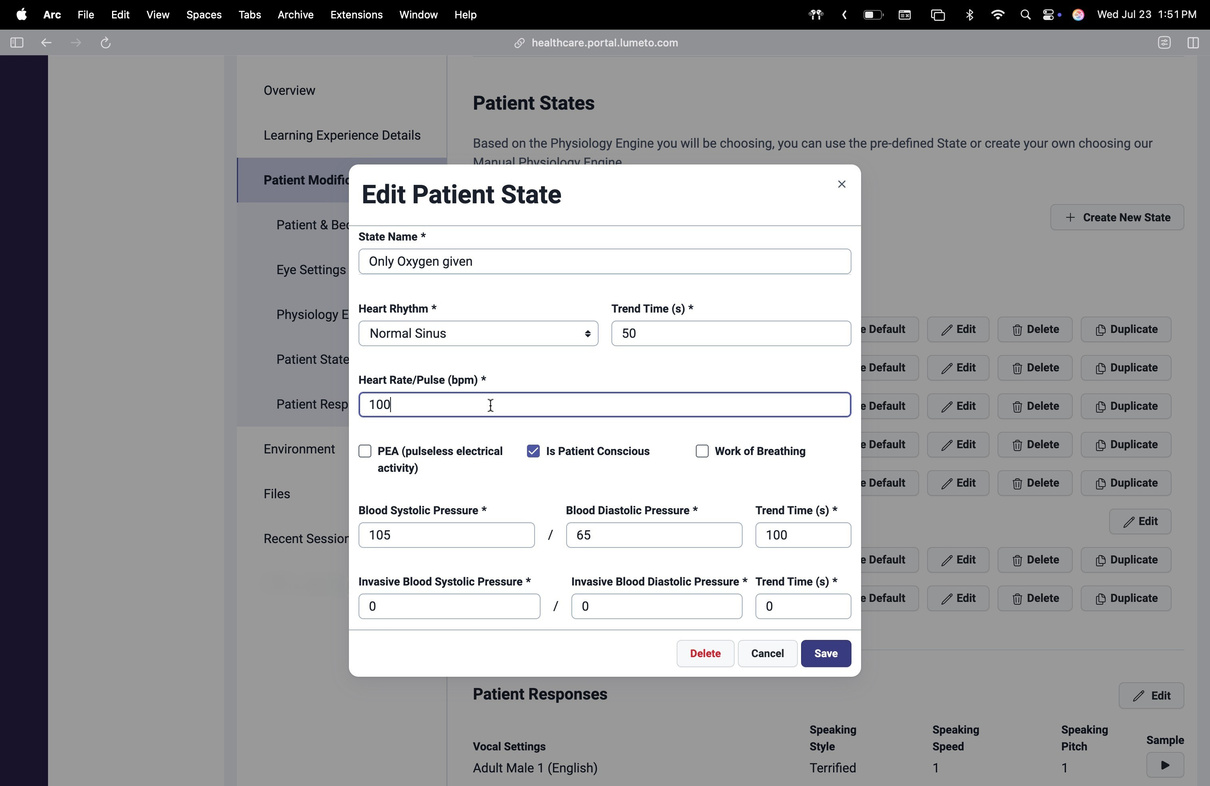
Self-directed
AutomaticACE moves the patient between states automatically, based on the triggers you set.
Instructor-led
You control itYou switch states live to move the story forward. Set a default state to start the case in.
New patient conditions
Ventilators that respond
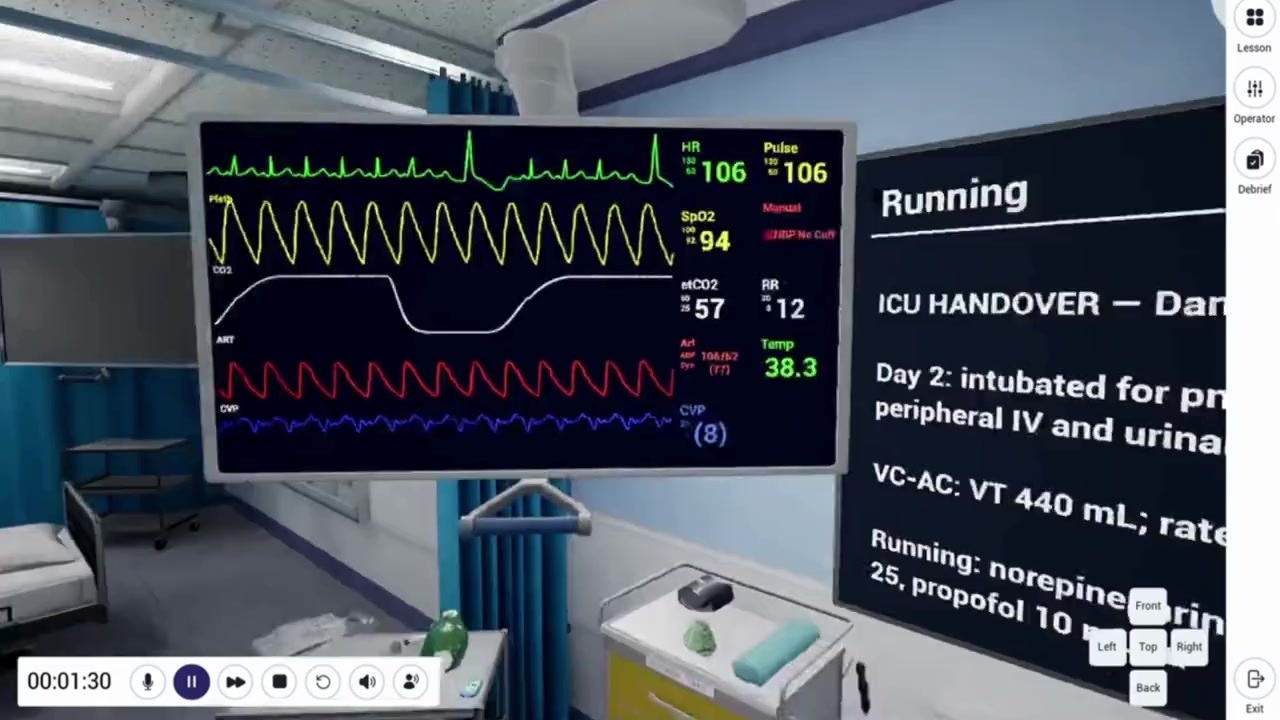
For cases with a ventilator, set Compliance and Resistance in any patient state. When that state is applied, the ventilator's waveforms update to match. Stiffen the lungs mid-session and learners see it on the screen.
Capillary refill
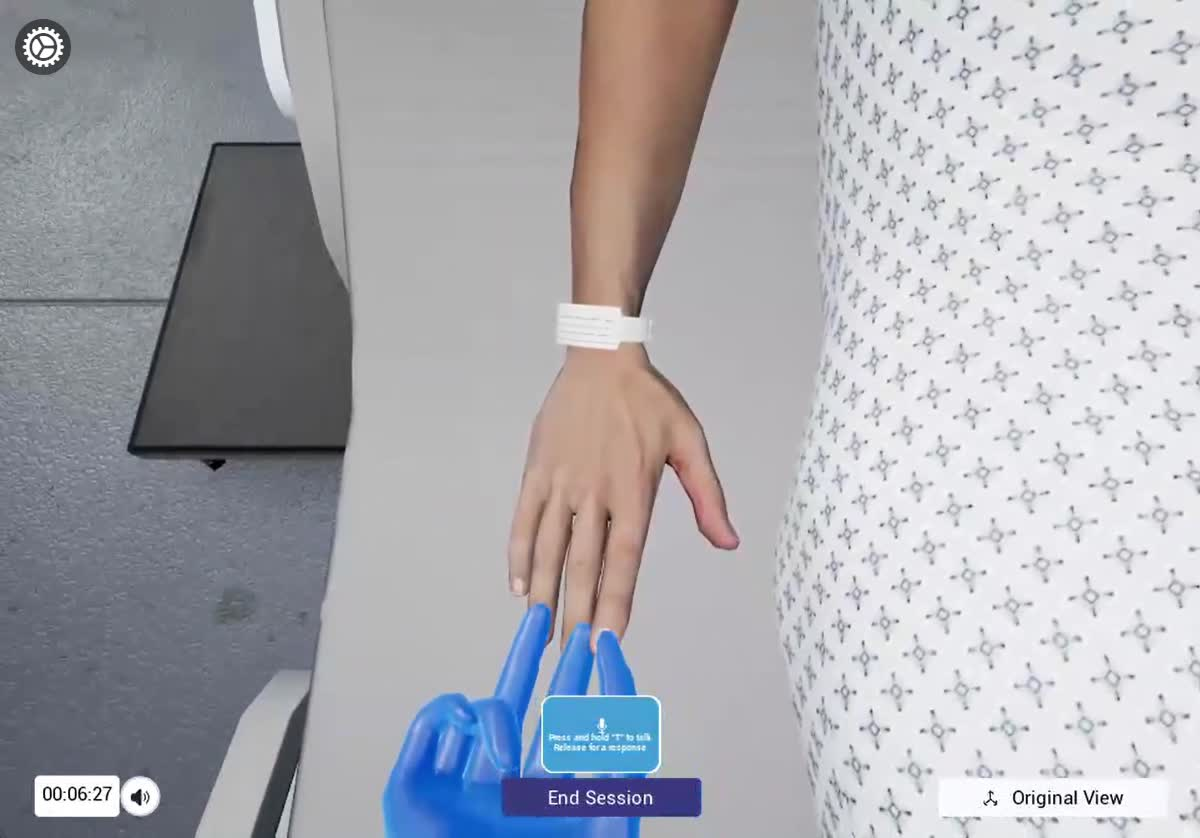
Available for every patient. Set the refill time in a patient state. OnScreen learners find it under Assessment and watch the refill play out at the time you set.
Erythema
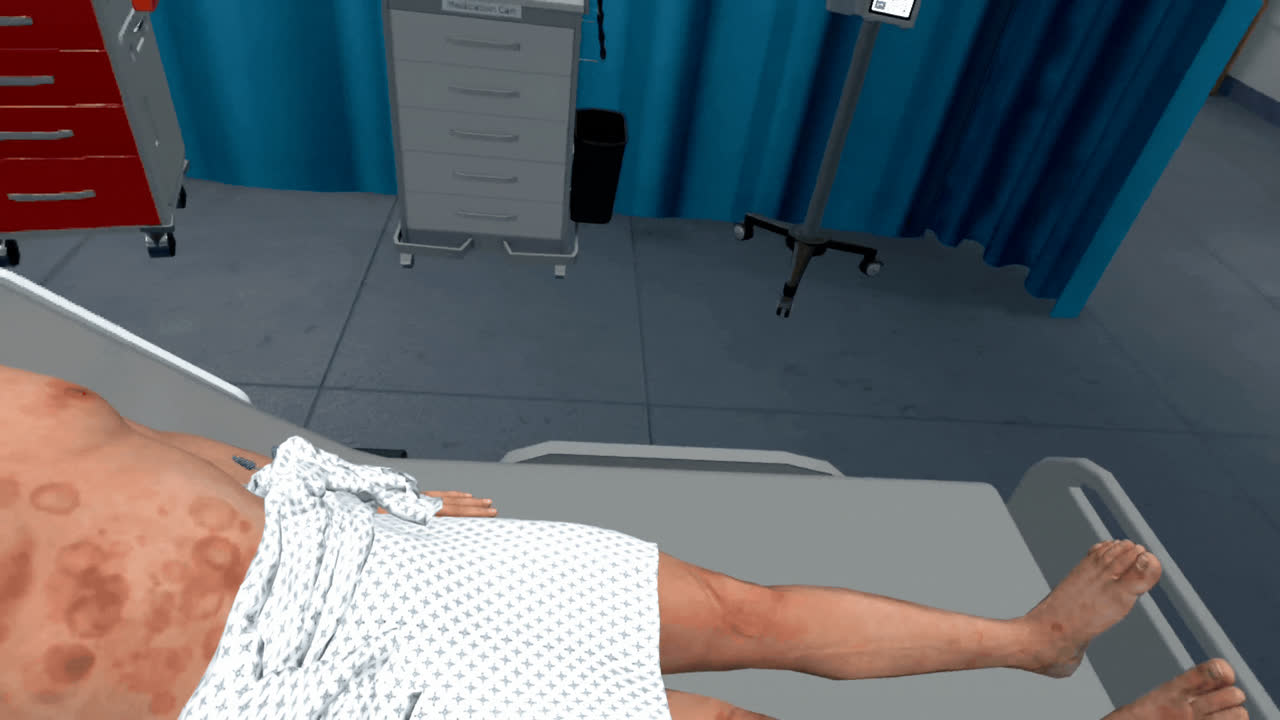
Available for every patient, and ready to add to any patient state.
Date of birth and automatic age
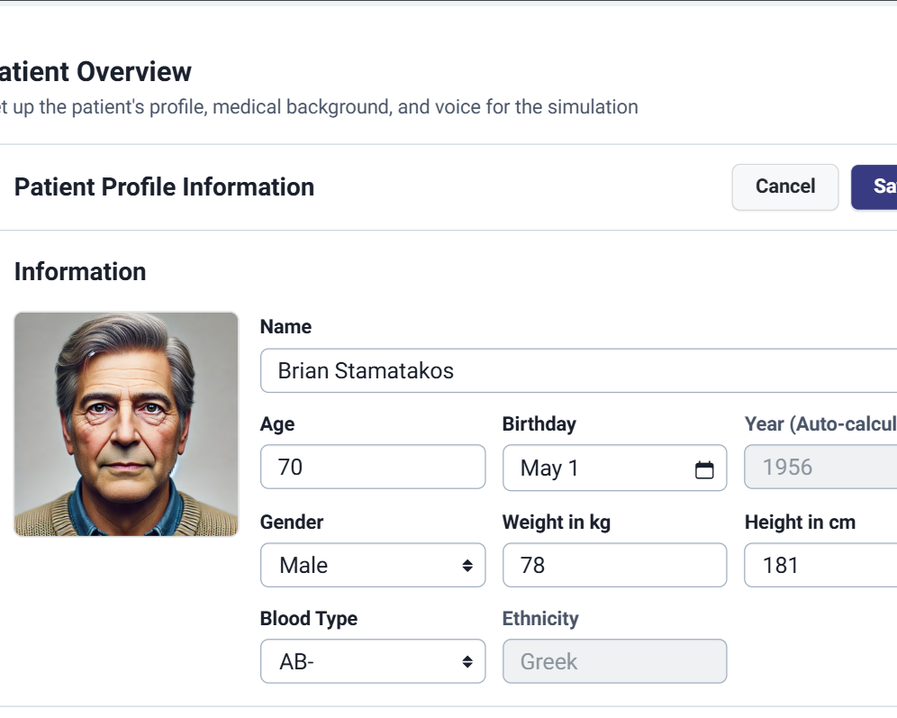
Set the patient's date of birth in their profile. Their age is calculated for you.
Where to set them


07Test and improve
Before learners see it
Self-directed: preview the case in the InvolveXR VR app. Check that checklist items trigger, then review patient states, files, and flow.
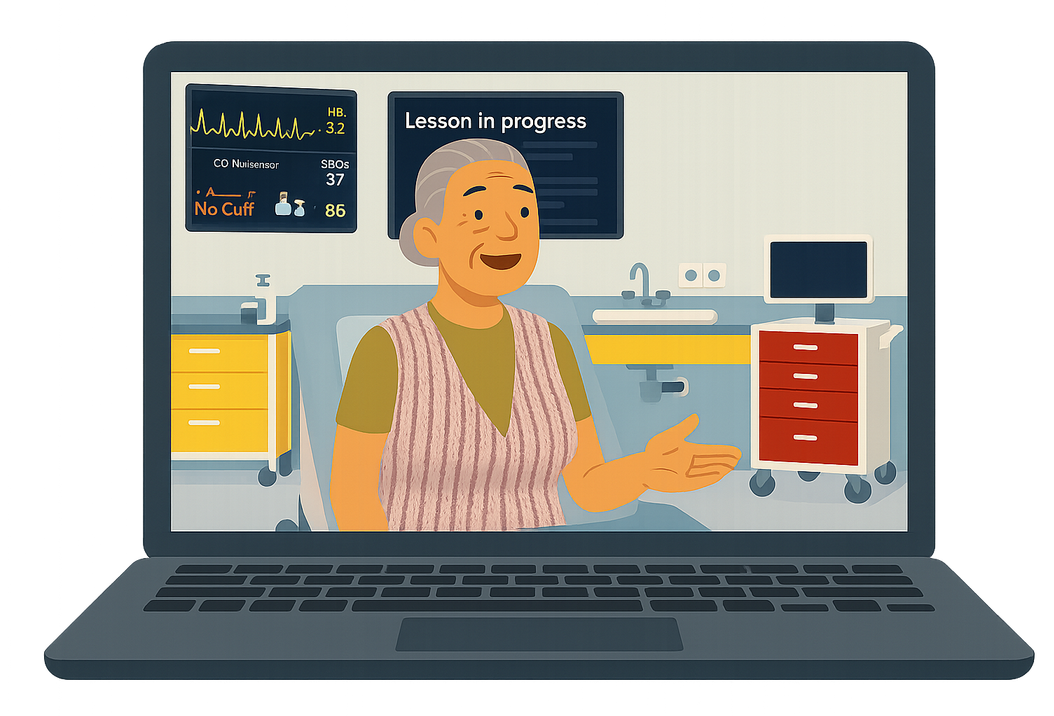
Instructor-led: schedule a session with only yourself as the instructor. Start it in the OnScreen app to check state controls, checklist triggers, and file sharing. You can also join in VR to experience it as a learner.
Adjust tone, pacing, or dialogue as needed.
Quick checklist
- Room and patient are right for your audience
- Patient prompt sounds natural
- Checklist items trigger as expected
- Files and states work
- A clinician or subject expert has reviewed it
🛠️
Your case is ready to schedule.
Assign it to learners next.
-1.png?width=150&height=66&name=Lumeto%20Logo%20Reverse%20Transparent%20(1)-1.png)